Join our next live webinar:
Creating digital certificates with Virtualbadge.io

Next-generation skills help candidates stand out from the crowd in the ever-evolving digital landscape. HR professionals and educational institutions look at certificates to validate the credibility of candidates’ claims.


Designing certificates from scratch and delivering them in large quantities can be quite an undertaking. Often, organizations hire a professional designer or coder to help them create certificates. If you find yourself in a similar position, this guide will be your saving grace.
The following guide will explain two simple ways to create a certificate in Microsoft Word:
And as a bonus, we will introduce you to Virtualbadge.io, an intuitive, easy-to-use certificate generation tool.
Using Microsoft Word templates is one of the quickest ways to create certificates for most occasions. It is free, customizable, and offers a considerable number of pre-made templates.
This step-by-step guide will teach you how to create a certificate in Word with a template.
Launch the Microsoft Word application from your Desktop or the taskbar. Once you’ve opened the application, you’ll see a blank document. If you don’t, click on File, and from the side menu, click on New on the Home tab to open a fresh document for editing.

Click in the Search box on the New screen, type “certificate” and press Enter. This will display a bunch of certificate templates for you to pick from.
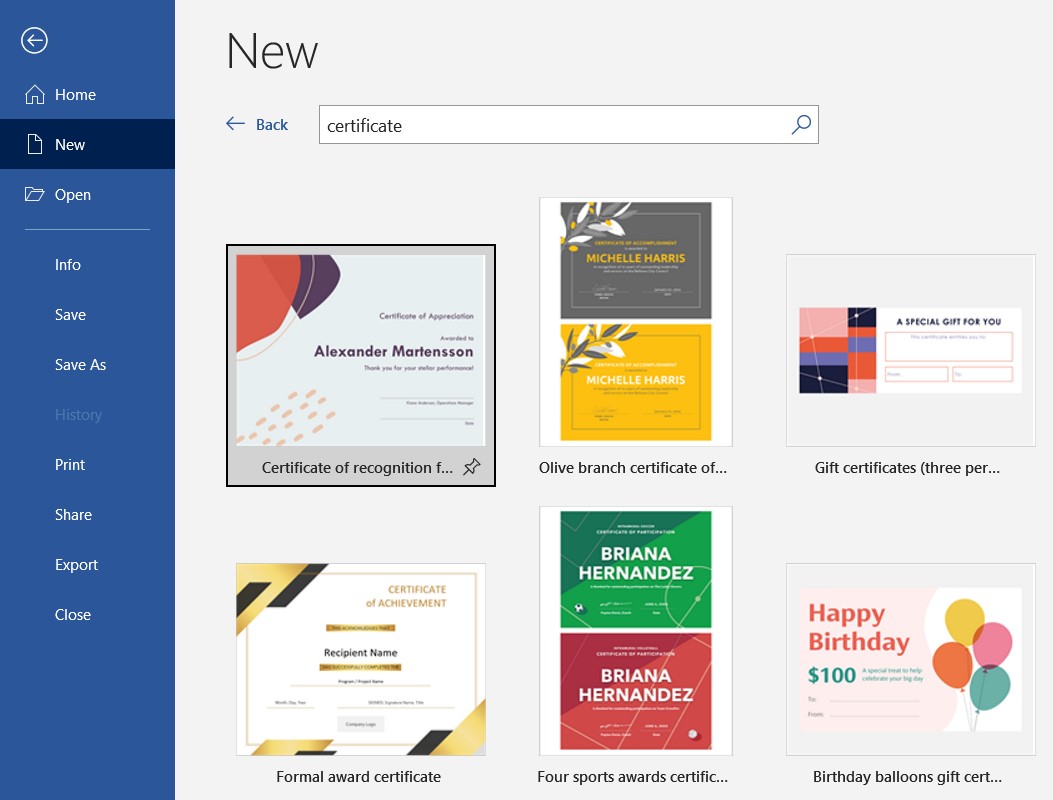
Next, select a certificate template that fits your requirements and click Create. It should now open the template as a new document.

You can now start customizing your selected template. Select the Design tab on the topmost menu, and under Page Borders, go to the second tab: Page Border.

Unable to find your preferred border? Click on Custom under Setting, and select your favorite border design. Finally, click OK to apply your chosen border.
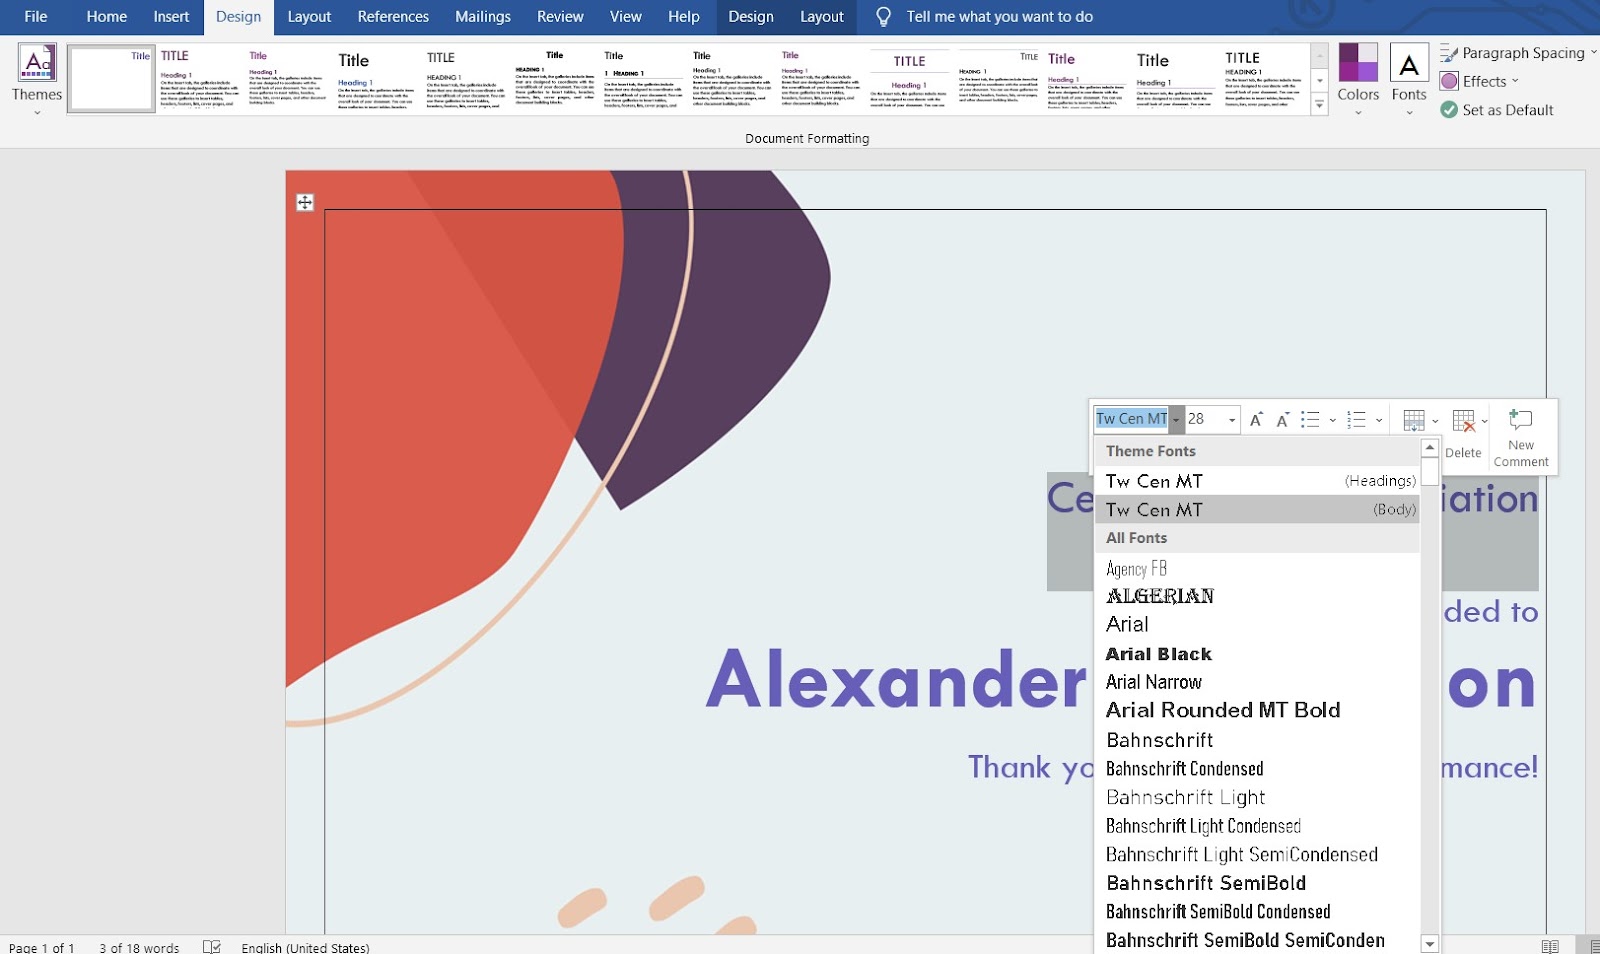
Does your organization have specific brand colors? If so, it's recommended to select your brand colors for your certificates. To do this, under the Design tab, expand the Colors option.
Next, hover over a theme that best fits your brand colors. Select your theme and Save changes. This action will automatically change the default colors on your certificate template to the chosen theme.

Once you’ve finalized the design, you must now edit the text. Word lets you change the text font, color, size, and spacing.
To edit content:
You now have your very own certificate that’s ready to download and send.

Pro tip: Using the MS Office Mail Merge functionality, you can auto-populate multiple participant names, and thus create multiple certificates at once. This feature pulls data from your local spreadsheet and populates recipient names on your designed certificate. To access, select Start Mail Merge > Letters > Use an existing list (to upload recipient list) > Insert.
If you’re creative, Microsoft Word also lets you design certificates without using templates. However, since you’re starting with a blank canvas, this method is more complex.
Open and launch a new blank Word document. Once opened, select the Layout tab on the topmost menu. Under Orientation, select Portrait or Landscape as the preferred certificate configuration. We’ve chosen Portrait for this example.

Once you’ve selected your certificate’s orientation, start adding borders.
Like the previous method, under the Design tab, select Page Borders. Now, in the pop-up menu, select Page Border and choose either Style or Art (for professional certificates, choose only Style).
Select your preferred border color under the Color dropdown, and choose the line width. Finally, select the Box option under Setting, and click on OK to apply the changes.

Your certificate will need a ton of text boxes for various elements, such as title, message, participant name, date, signature, etc.
To add a text box, under the Insert tab of the main menu, click on Text Box and select Simple Text Box. Next, start placing text boxes on your blank canvas, and modify content using your preferred font styles, sizes, colors, and more.
Once complete, you can save and preview the certificate. Download the file to print your certificate once you’re satisfied with your design.
Let's take a look at some expert tips that will make your Word certificate creation a breeze:
Here are some common mistakes designers make while creating certificates:
Although creating a certificate using a Microsoft Word template is relatively easier than starting from nothing, it is not efficient when you need to send out certificates in bulk—which is often the case.
Imagine this: You just finished hosting your course and need to send out course completion certificates to 60 participants. You come across a tool that lets you create one certificate and apply the data from the list of 60 participants to auto-generate the rest. That’s how easy certificate generation is with Virtualbadge.io.
With a Virtualbadge.io account, you can:
6. Track and measure metrics, such as certificates shared, claimed, and downloaded.
7. Integrate with several advanced tools, such as Zapier, Mailchimp, Zoom, and others.
Creating your own certificate using Microsoft Word is quick and straightforward. But when you want to design and send certificates in mass quantities, Word is not a practical tool to use (and employing Mail Merge is a long and error-prone workaround of that problem).
An all-in-one tool like Virtualbadge.io is efficient and easy. This leading certificate generation tool takes care of all your requirements, from designing to sending and validating certificates—all within one platform.
Are you ready to create and send certificates with one click? Get a 7-day all-access free trial today to test-drive all the features.
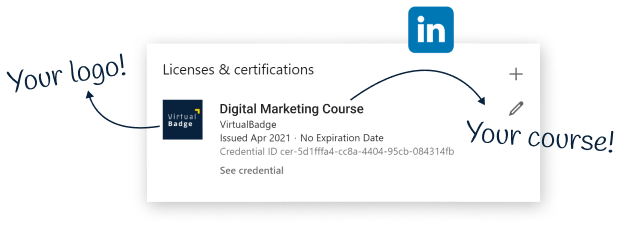
* You can find the organisation ID in the URL when you access your LinkedIn Company page as an admin.


Content writter
Jan 13, 2023
8 min

Use Virtualbadge.io to design and send digital certificates that create trust - in less than 10 minutes.
START FOR FREE
%20(1).svg)
.png)

.jpg)

.jpg)